
It’s no secret that riding a bike is fun, healthy, and a great way to get around, but the ride doesn’t have to end when the sun goes down. Whatever your reason for riding after dark, there’s one big safety consideration to make: lights! Bike lights serve two important purposes. They make you visible to others, and they illuminate the area where you’re riding.
We’ll help you cover the basics you need to know to find the right bike light for how you roll.
Where do you ride?
The most important question to ask yourself when looking for the right bike light is, “Where do I ride?” Maybe you’re a commuter coming home from night classes at the local university. That means you’ll need a different kind of light than a mountain biker who loves the thrill of nighttime trail riding. Consider whether you ride in the city, on suburban or rural roads, or out on the trails.

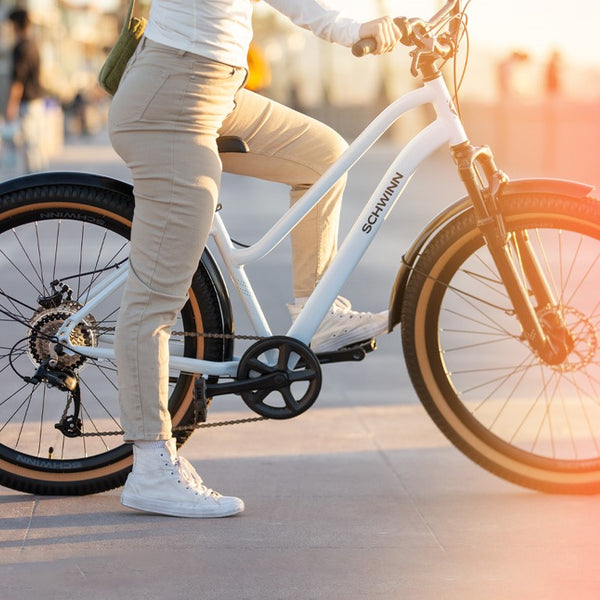
City
Cities are full of artificial light, so you don’t need as much illumination as in other areas. On the other hand, lights are extremely important for making you visible to motorists, pedestrians, and other urban riders.

Road
There’s nothing like the focus and flow that exists when it’s just you, your bike, and the pavement. While there’s no better way to clear your head than a long, late-night ride, the streetlights on suburban and rural roads can be few and far between. Your bike lights will need to be bright enough to help you see the road in front of you and to make you visible to passing motorists.

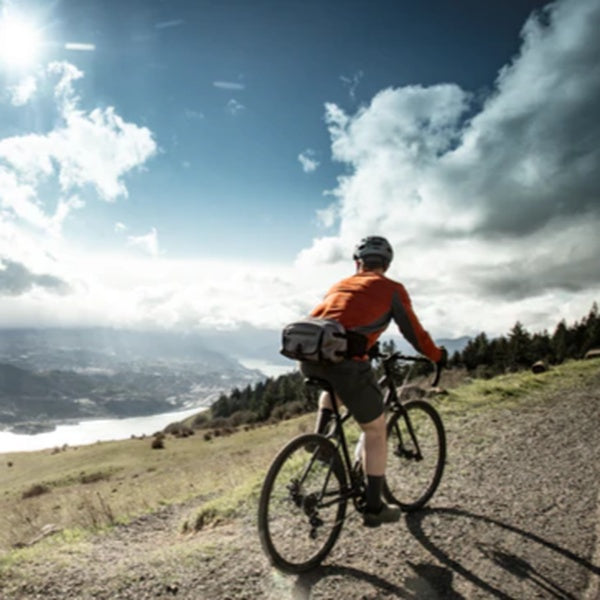
Trail
It gets dark in the great outdoors! If you’re eager for the thrill of nighttime trail riding, don’t forget that the only light is the light you bring with you. You’ll need an extra bright headlight to keep the trail in front of you illuminated, as well as a good taillight so other riders can see where you are.
Brightness
One of the most important features of any bike light is its brightness. This affects how much the light illuminates the area you’re riding in and how visible it makes you to others around you. Brightness is usually measured in lumens, just like a lighting fixture for your house.
Headlights usually have a higher lumen count than taillights since you might need them to illuminate the area in front of you. Taillights just need to be bright enough to be visible to others. A good benchmark is that lights over 150 lumens are bright enough to illuminate your surroundings, while lights under 150 lumens will only make you visible to others.
That means that you’ll want a headlight rated up to 150 lumens for illumination in the city, at least 300 lumens on partially lit roads, and at least 500 lumens for pitch-dark trails. In the city, you can ride safely with lights under 150 lumens since you only need to make yourself visible to others.

Beam Distance
The beam distance of your light refers to the distance at which it will light up objects in the dark. This is another feature that tends to be higher for headlights than taillights. It’s especially important for night rides on roads or trails where you need your headlights to illuminate the path ahead of you.
Some bike lights also make use of chip-on-board (COB) technology. Not only are COB lights brighter, but they have a wider viewing angle, making them a great choice for visibility wherever you ride.
Run Time
The run time of your lights is how long they will stay on after a full charge or a fresh battery change. Lights with both a flash mode and steady mode will usually last much longer in flash mode. Whichever mode you use, you should make sure the run time of your lights in steady mode is long enough to cover more than the planned length of your entire ride before you set out.

Other Things to Think About
Some bike lights are rechargeable with a USB cable, while others take batteries. While USB rechargeability is easier on the wallet in the long run, the peace of mind you can get from packing extra batteries on your ride may be more important. It all comes down to what matters to you.
All Schwinn bike lights use a silicone quick-wrap mounting strap. Not only does this tool-free way mounting system make it easier to put your lights on, but it also makes it easier to take them off. Stowing your lights in your bag while you run into a store or even leave the bike locked up overnight is a good way to make sure they don’t go missing!
The shape of your lights is also something to think about. Some lights are designed to offer visibility from the sides, which can be especially important for city riding. You might also consider how big the lights are and how much space they take up in your bag or on your handlebars.
Finally, many bike lights have multiple modes like steady, flash, and burst. Steady keeps the light on in a constant beam, which is best for illumination. The other modes make the light flash in a more eye-catching pattern that aids in visibility.

Get Ready to Ride
The best thing you can do to make your evening ride as safe as possible is to bring your lights! Once you’ve determined where you ride, all you need to do is find a light you like with the proper brightness, beam distance, and run time. Then you’re ready to pedal off into the night.